Open settings from a fixed-size preview
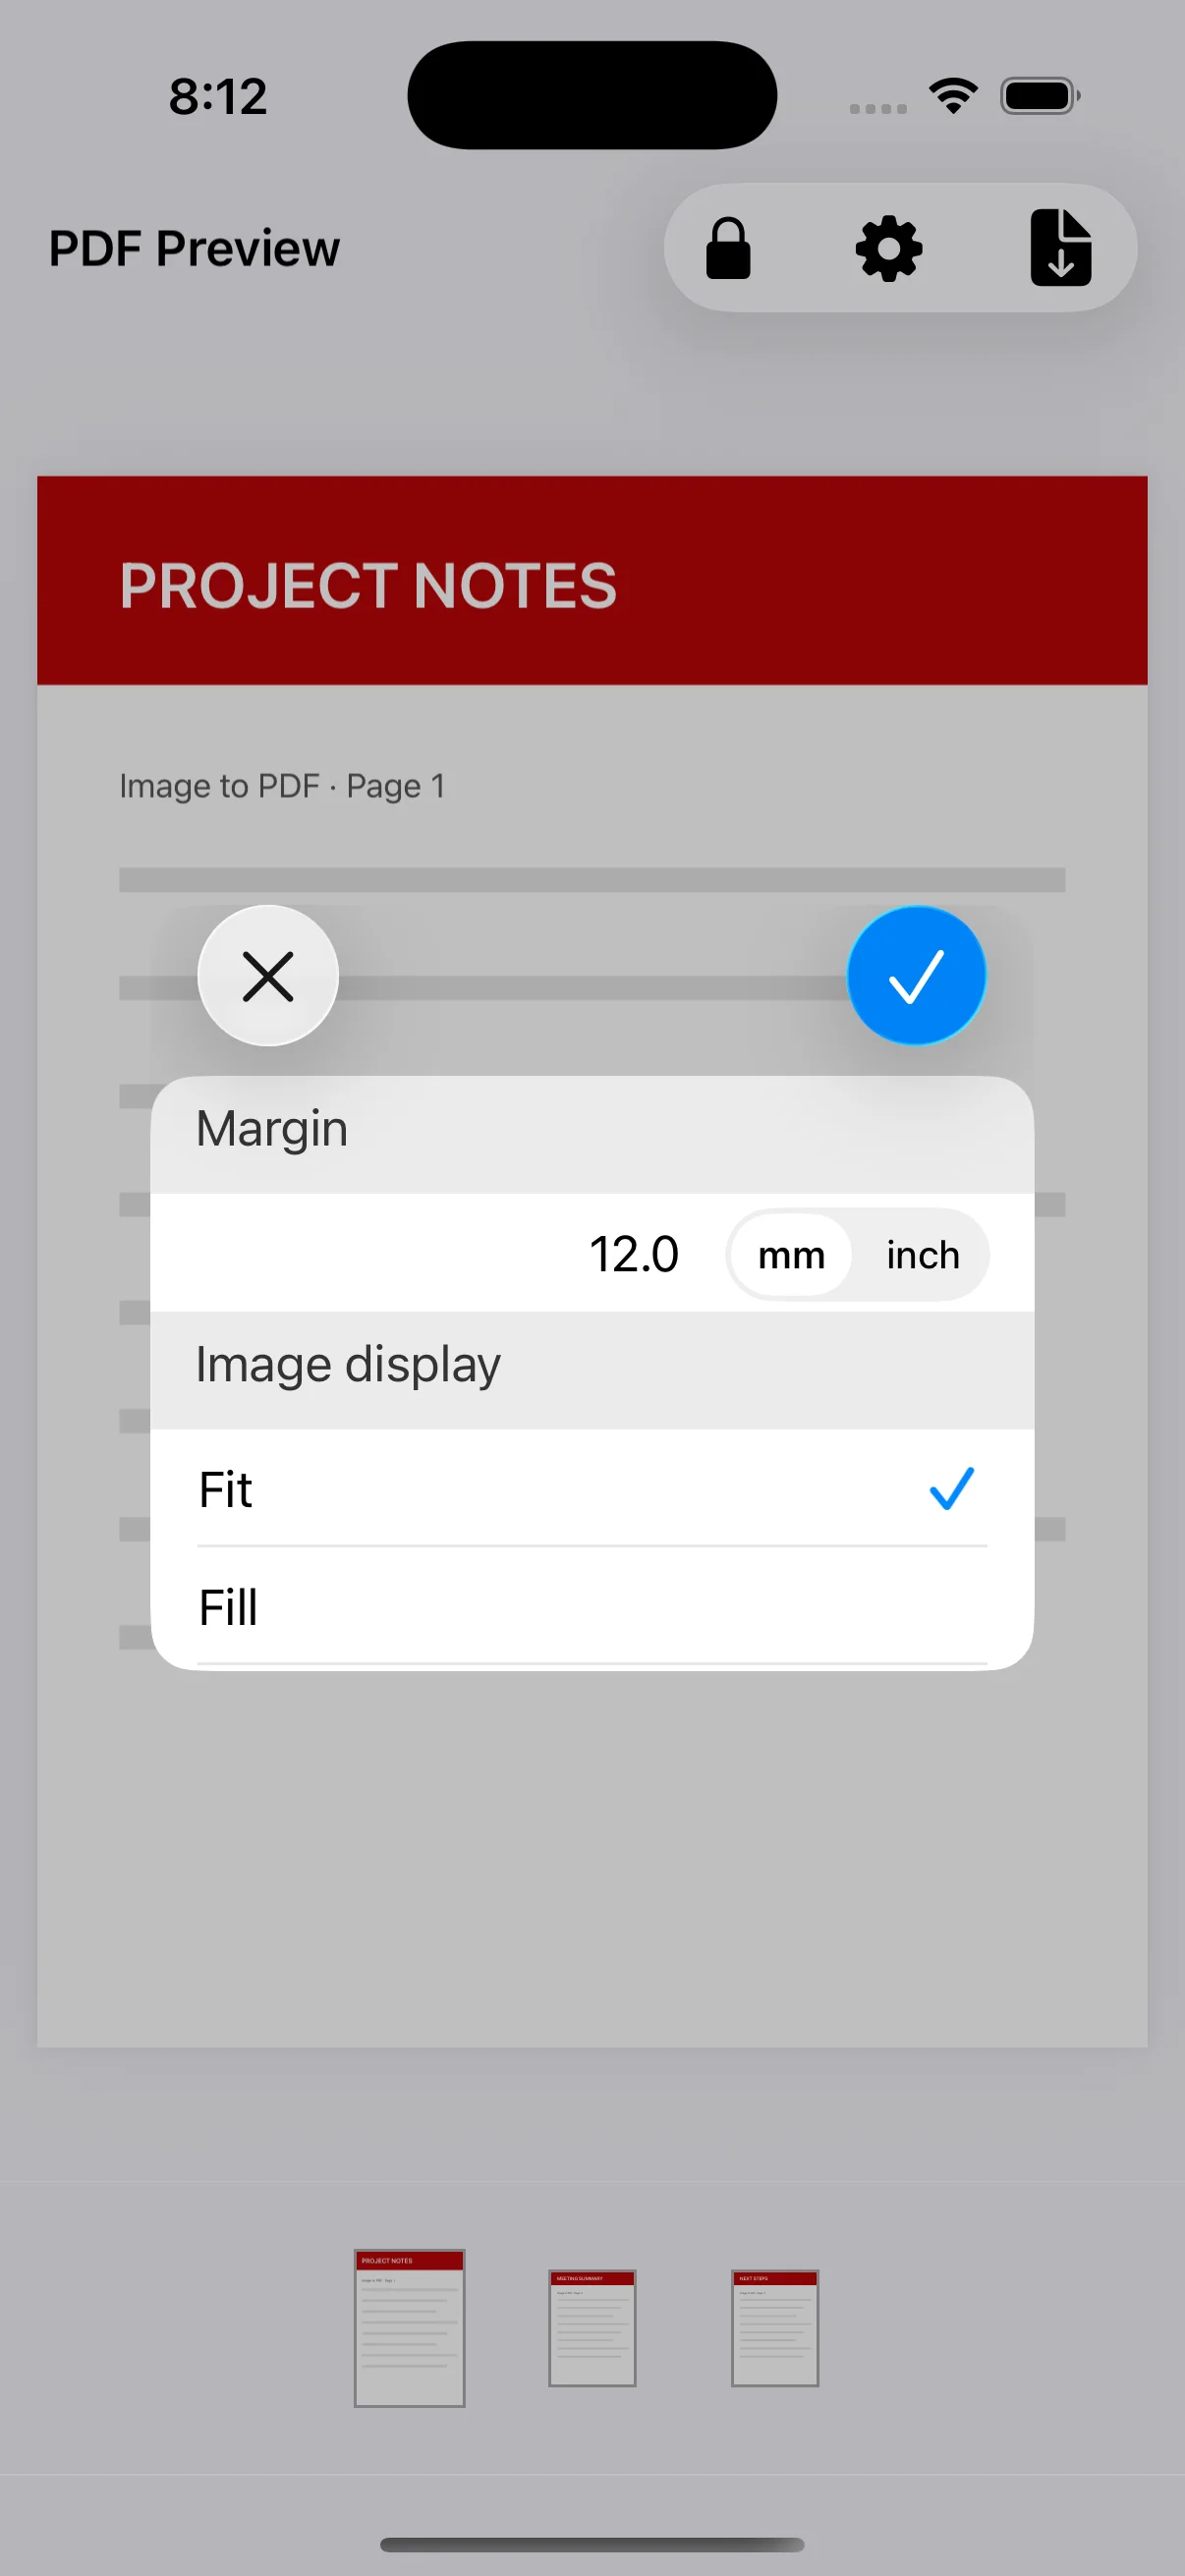
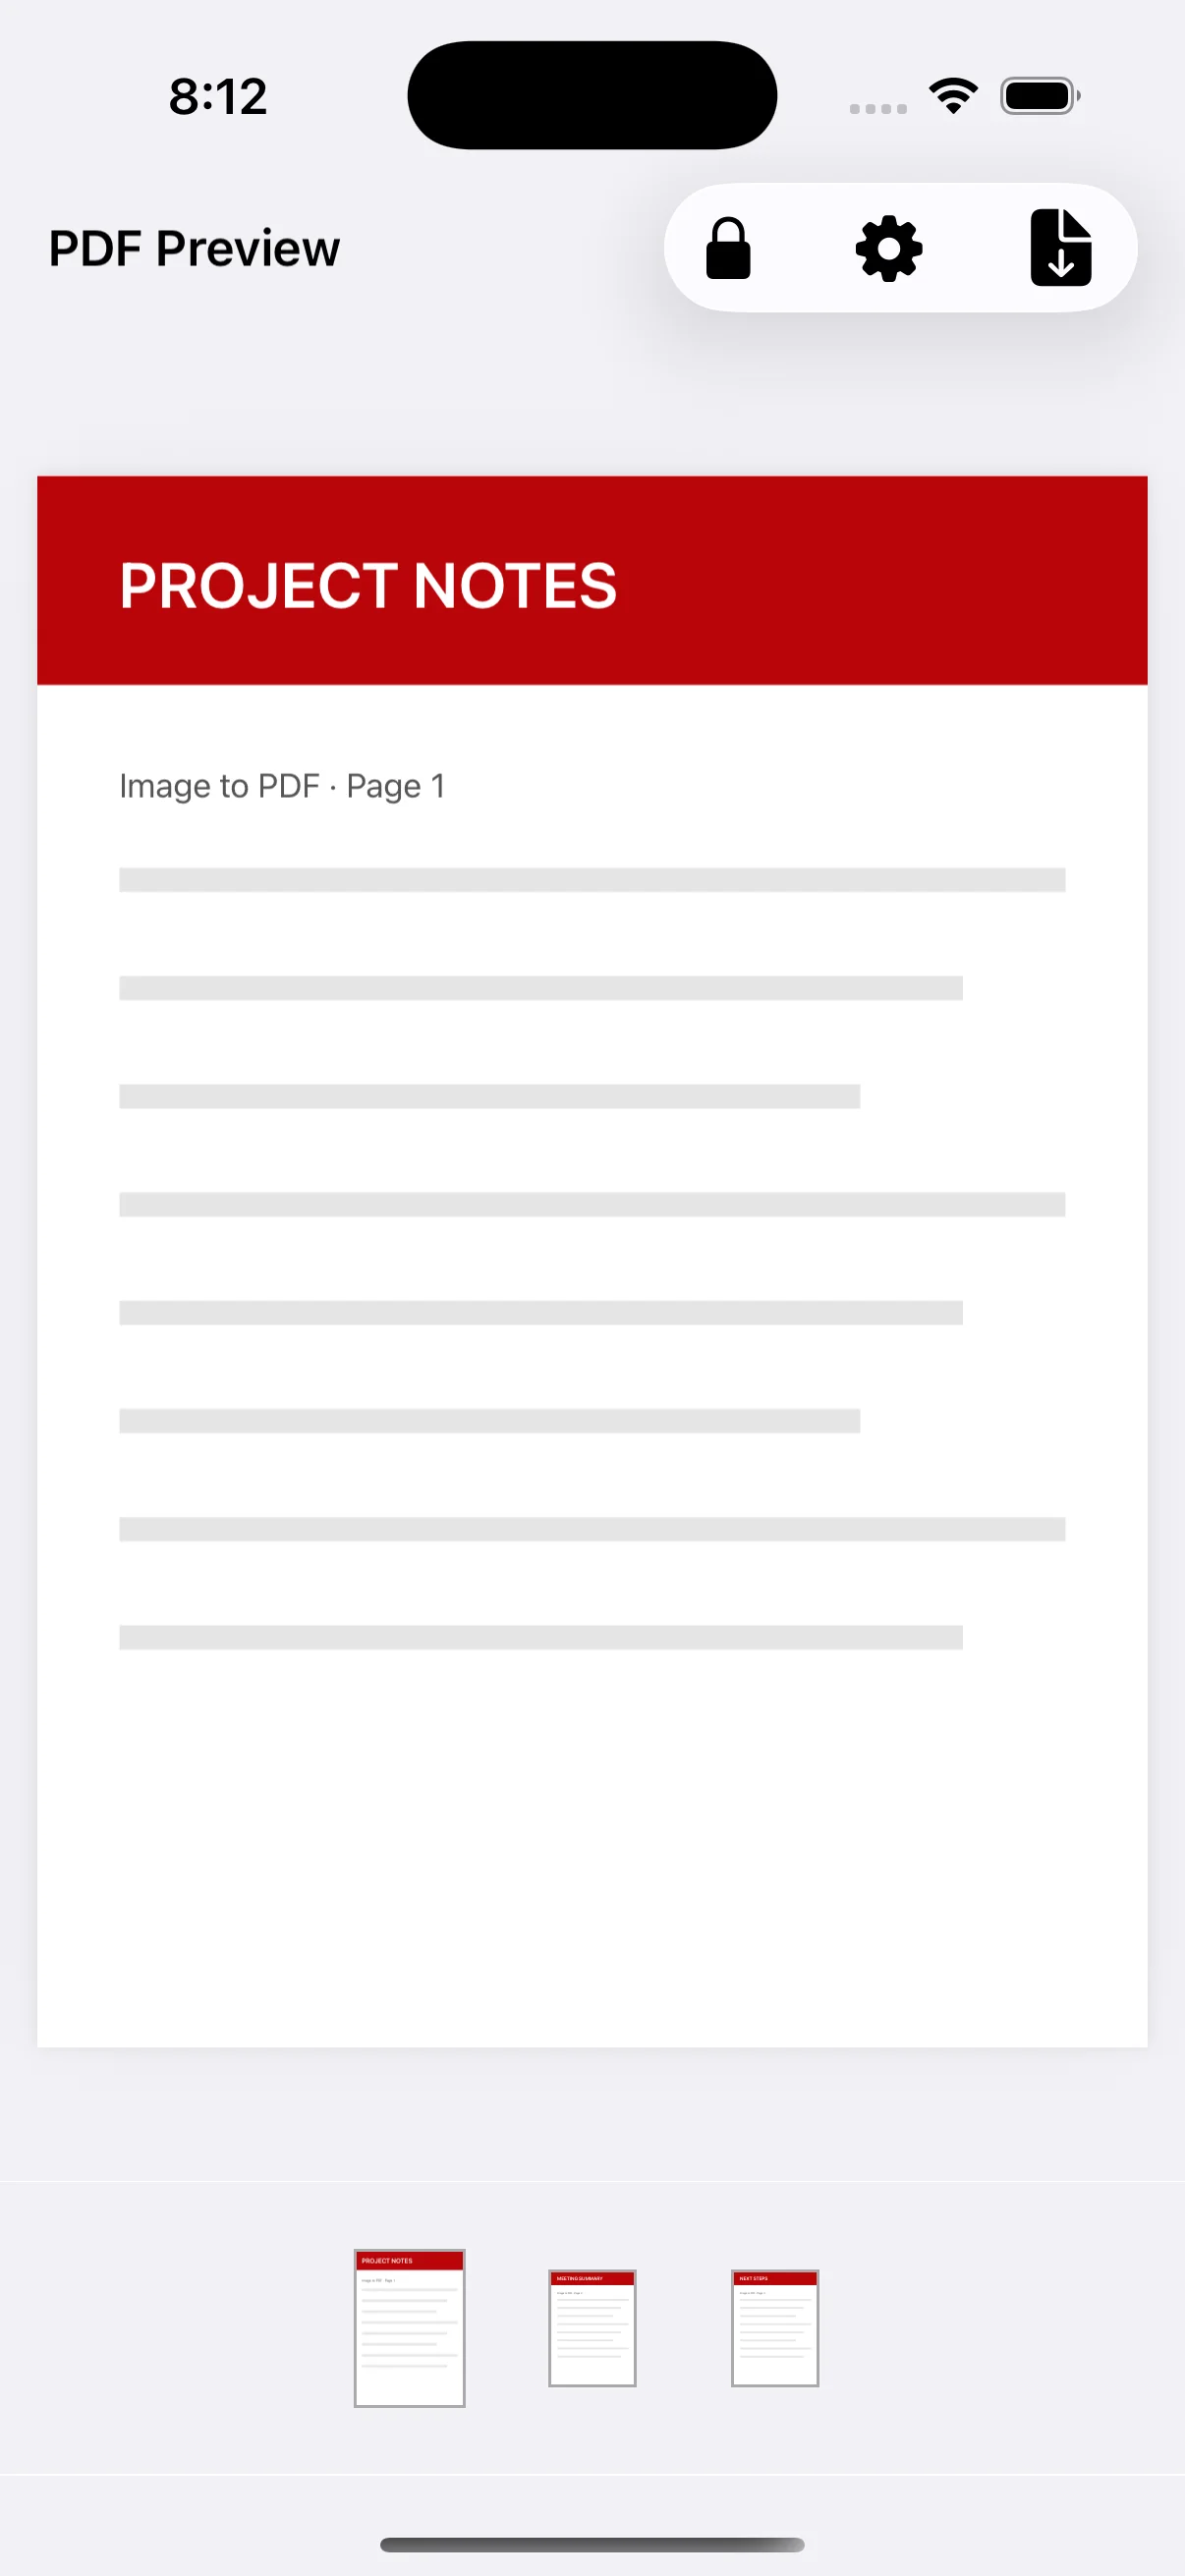
Choose a paper size other than Original, create the preview, and tap the gear button. The PDF settings panel contains margin and image-placement controls. These controls are part of Premium.
Enter a margin in millimetres or inches
Choose mm for metric page sizes or inches when that matches the document requirement. A larger margin makes the image smaller, so begin with a modest value and regenerate the preview. Make sure the remaining content is still readable.
Choose Fit to keep the whole image
Fit scales the complete image inside the available page area. Blank space can appear when the paper and image have different proportions, but document edges remain visible. It is generally the safer choice for receipts, forms, and class work with important text near the edges.
Choose Fill only when cropping is acceptable
Fill covers the page area with the image. When proportions differ, part of the image can extend beyond the page and be cropped. It can suit visual material, but zoom into the preview and verify that no text, stamp, signature or other required detail is lost.